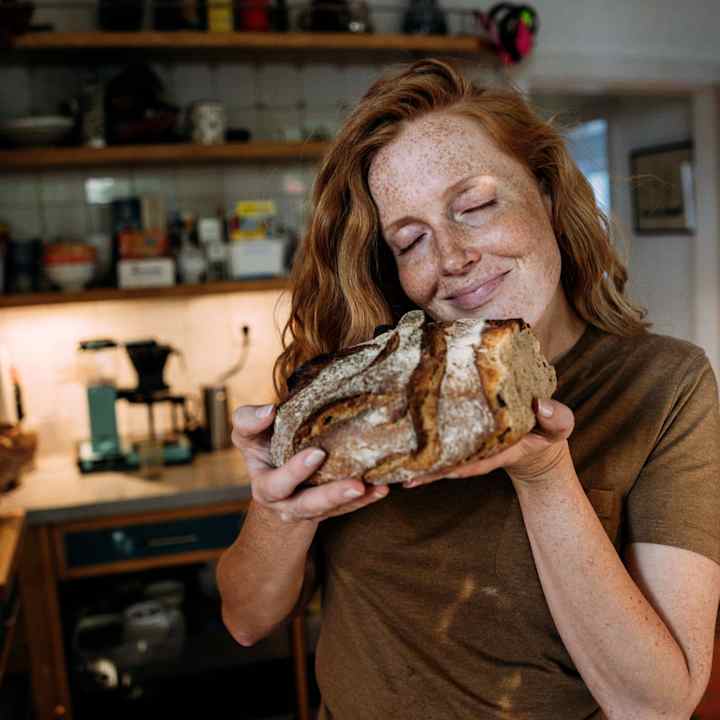
Technique is what guides us here. Not because bread is complicated, but because the smallest choices can shape everything that follows.
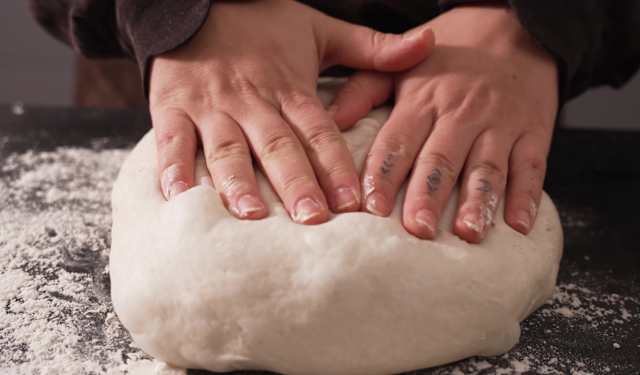
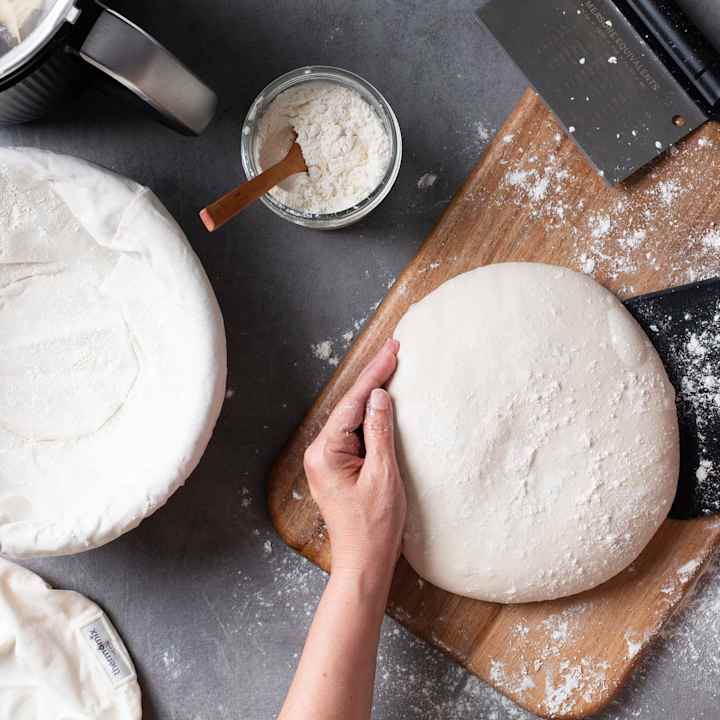
The dough tightens with a soft sigh beneath our fingertips, like smoothing out a blanket. There's no need to rush. We stretch, we tuck, we rest – every movement a sign of the loaf to come. We build a little tension and give it some shelter, then shape the dough as you would cradle a sleepy child.
After that, the oven does the rest. The steam kisses the surface, the heart keeps breathing, and the room fills with that familiar sound of crust forming. When you knock and it answers hollow, you'll smile – quietly and with a full heart.
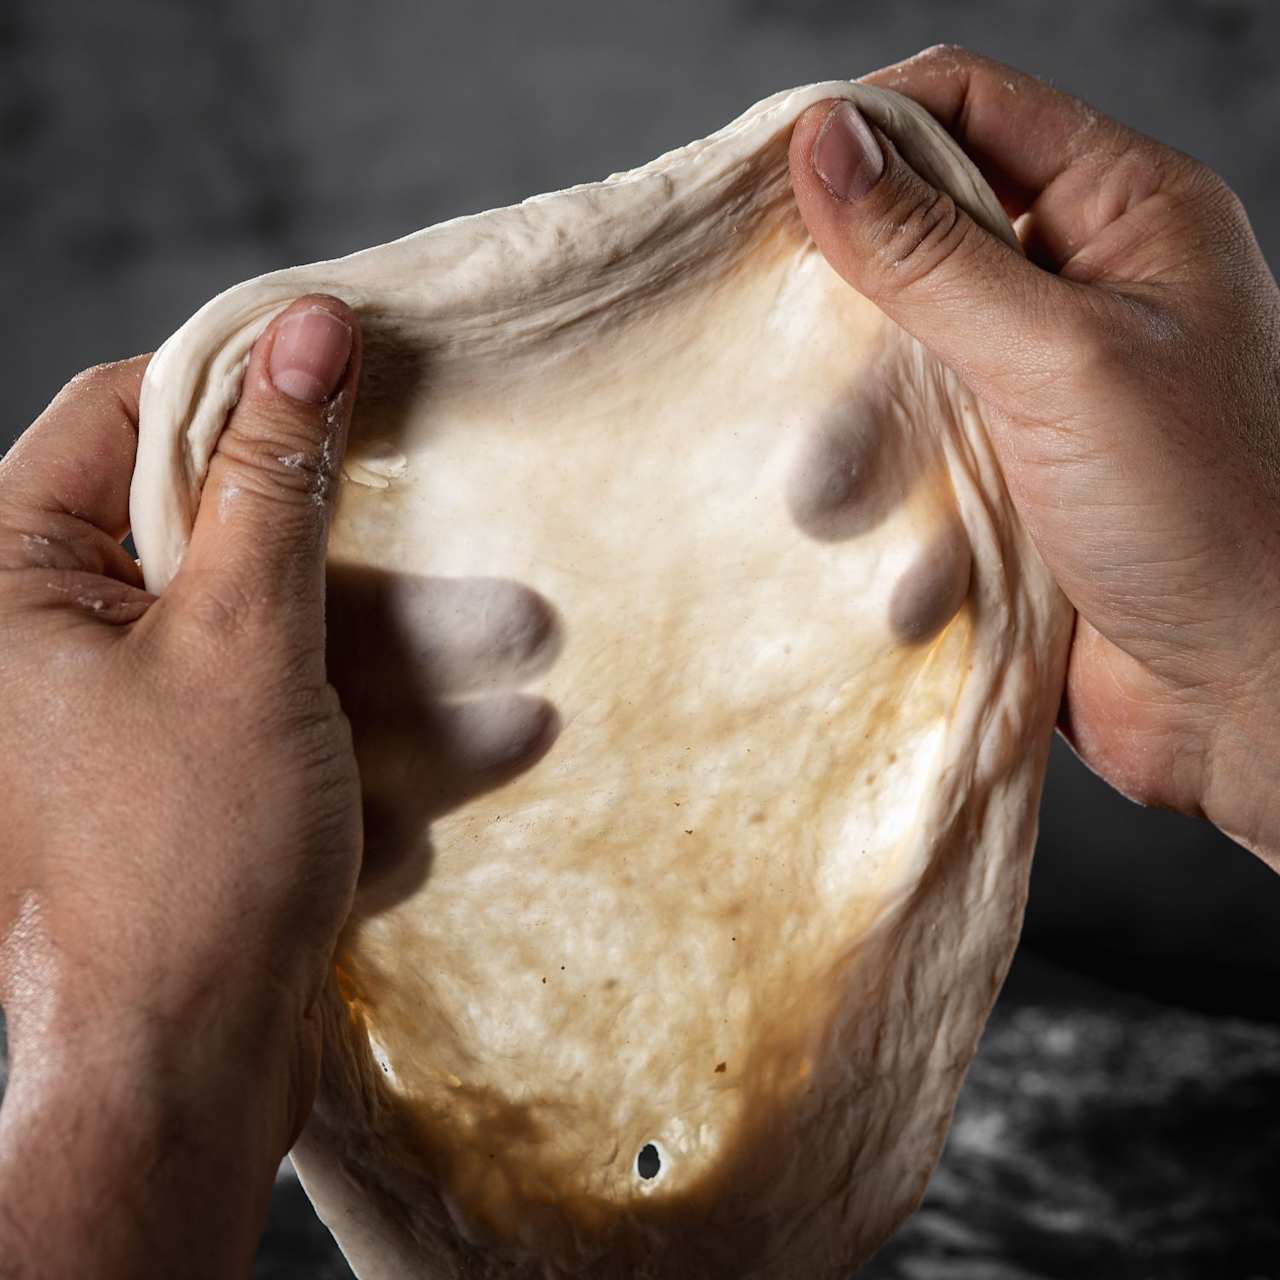
Wheat loves being kneaded thoroughly; it builds a stable gluten structure that stretches without tearing and rises with confidence. Rye, on the other hand, doesn't form the same network. It's best mixed gently and then left to hydrate. It may feel sticky but it will come together in time. You just need to be patient.
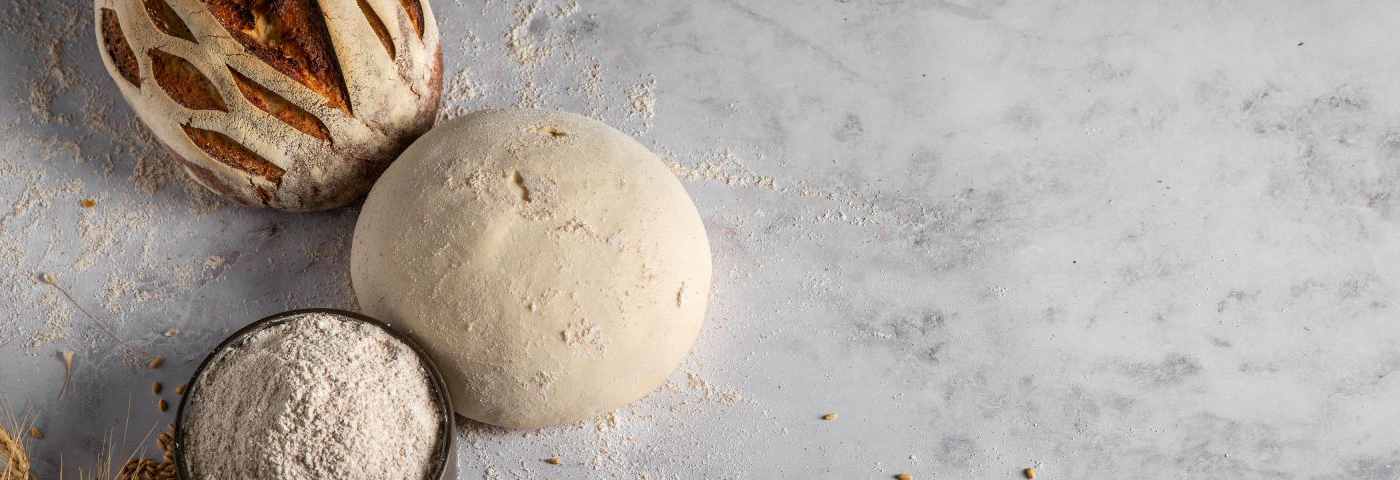
If you're wondering whether the wheat dough is ready, pinch off a small piece and stretch it slowly. When it becomes translucent like a windowpane, instead of tearing, that's your sign that the gluten is ready.
Mixing and kneading
Wheat vs. rye structure:
• Wheat: builds a stable gluten network and benefits from thorough kneading.
• Rye: forms little to no gluten network; mix gently rather than knead intensively, then allow time to hydrate.
Windowpane (membrane) test:
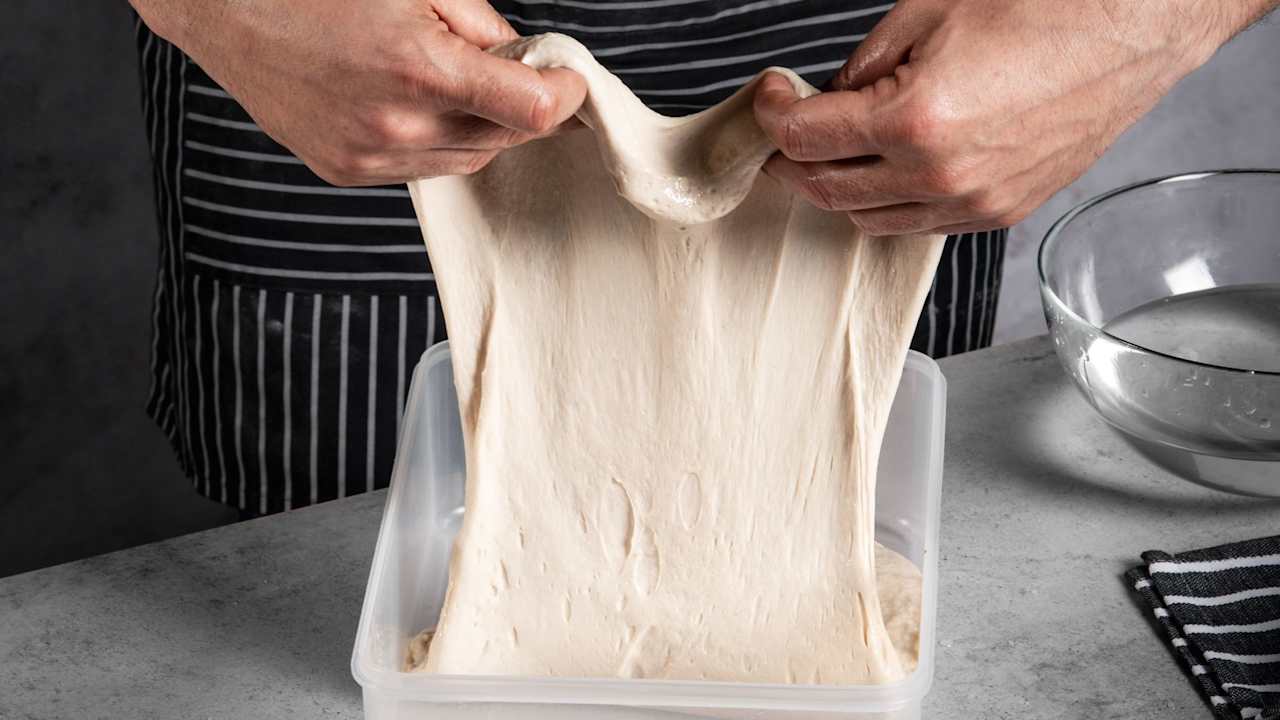
Folding is our chance to have a little chat with the dough while it's rising for the first time. We do this a few times, about 30 to 60 minutes apart. With lightly wetted hands, lift the dough from near to far, then far to near, then from each side, gently folding it over itself. Each fold builds surface tension and brings strength, helping the dough learn to stand tall. Then it's time to shape the loaf, where you decide what it's going to look like.
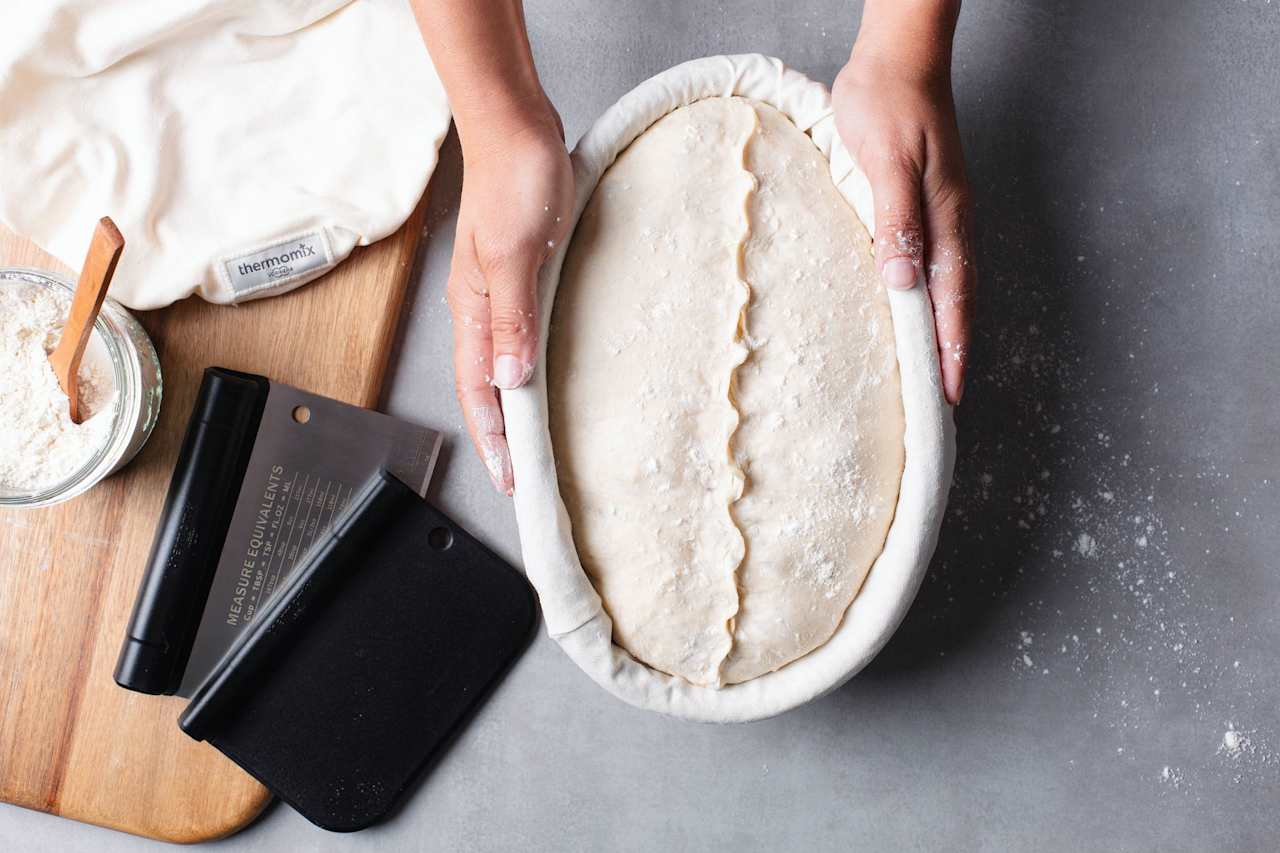
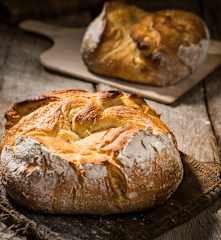
• Seam-up proofing → rustic, cracked look.
• Seam-down proofing → smoother surface; score before baking to guide expansion.
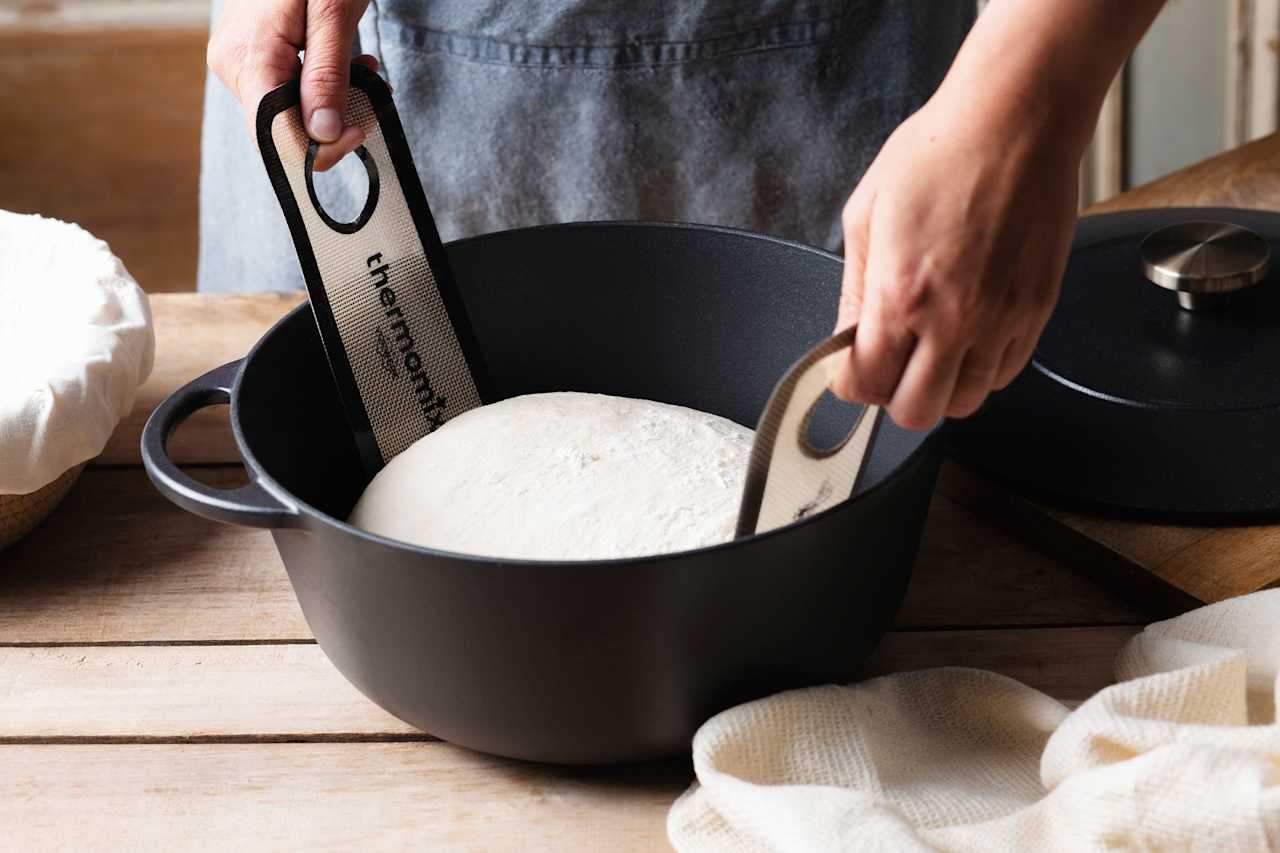
Wenn es ans Backen geht, wird der Ofen zu unserem Partner.
Beim Backen auf Stein oder Blech ist vor allem eines entscheidend: Dampf. Den Ofen gründlich vorheizen und dabei ein Metallblech auf dem Ofenboden mit erhitzen. Den Laib einschießen, einen kleinen Schuss Wasser zugeben – gerade so viel, dass Dampf entsteht – und die Ofentür zügig schließen. Nach etwa 10 bis 15 Minuten den Dampf ablassen, damit die Kruste kräftiger wird und knusprig ausbacken kann.
Alternativ eignet sich auch ein gusseiserner Topf. Dafür sowohl Topf als auch Ofen gründlich vorheizen, den Teig vorsichtig hineingeben – die Thermomix® Brotschlinge ist dabei eine echte Hilfe – und zunächst etwa 15 Minuten mit Deckel backen, bevor der Laib ohne Deckel weiterbräunt.
Bei rund 250 °C sollte der Topf mit dem gleichen Respekt behandelt werden wie ein Drache: Ofenhandschuhe an, eine sichere Abstellfläche bereithalten und keine hektischen Bewegungen.
Practice Box
Troubleshooting quick guide:
• Dense crumb: underproofed or under-kneaded; increase bulk time or kneading until windowpane is visible.
• Flat loaf: insufficient surface tension or overproofed; add an extra round of folding, tighten shaping, proof slightly less.
• Pale crust: insufficient preheating or steam; ensure a full preheat, generate steam at the start, vent at the right time.
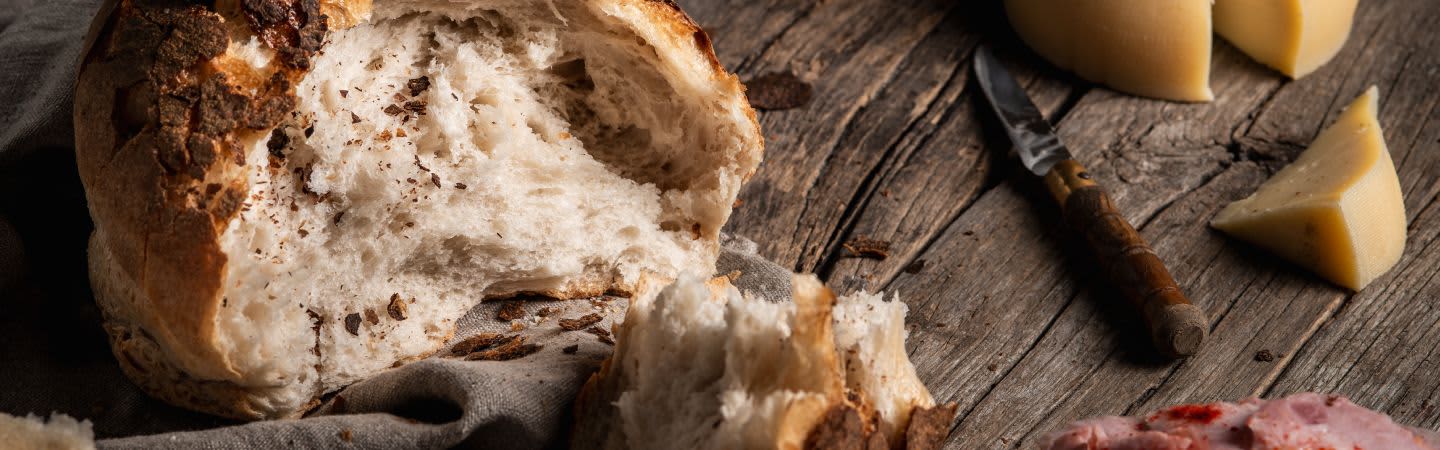
How do you know it's done? Turn the loaf and knock the base; a hollow sound is the old baker's nod.
If it needs a bit more crunch, just pop it back in the oven for five to ten minutes, out of its tin. Then let it rest on a rack. It’s tempting to cut into it straight away, but giving it time allows the crumb to set and the aroma to develop.
Rye loaves are often best the next day. For storage, wrap your bread in a cloth or tuck it into a linen bag for everyday use. For longer storage, slice and freeze it in an airtight bag. When needed, warm it again in the oven at around 200 °C for ten to fifteen minutes, or toast from frozen to bring back the crust and aroma. Smaller bread rolls are gently warmed to between 100 and 130°C for about ten to fifteen minutes.
If the dough feels too firm or loose, hold back a little water – about 20 to 30 grams – and add it gradually while kneading. This will help you get the right balance of hydration and keep the dough smooth and supple.
Practice Box
Hydration control:
Come a little closer and listen – that's right, it's the crust's song as it cools, a quiet percussion that tells you the loaf has its own voice. When you're mixing, folding, shaping and baking, you begin to find a rhythm that feels like home. And when you tap the base and hear that hollow reply, you'll smile, quietly, with a full heart, knowing that simple care has turned into something you can share. There’s more to discover as the story continues. We’ll be baking again soon.